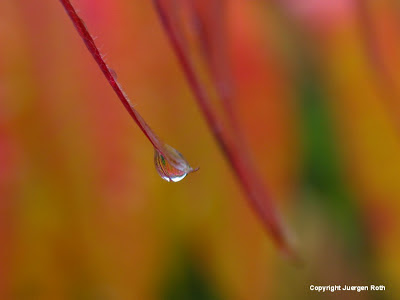
Creating beautiful Macro Photos involves not much more than a little bit of thought and good habits. The following 6 basic photo tips will get your photography to the next level and build confidence. These 6 step guideline will provide you the biggest bang for the buck … love to hear your feedback and results after applying one or all photo tips!
Step #1: Utilize the Rule of Thirds as a Starting Point for Your Composition
Don't use the Rule of Thirds as a set rule; more as a guideline or starting point for a more interesting and pleasing photographic composition. In Landscape Photography it is best to place the horizon in accordance to the importance of the sky; with dramatic sky formations placing the horizon in the lower third will give the sky more preference, for images with stronger foregrounds and weaker cloud or sky formations a horizon in the upper third of the image is more preferred. Usually locating the horizon in the middle makes a photo ordinary and static. An exception to the just said would be a grand landscape lake reflection. It is easy to apply the same approach to Flower Photography where laying the focus or point of interest within the flower at one of the four intersections has great impact by leaving room for the viewer to explore the image but also to be drawn back to the focus point.

Step #2: Apply the appropriate Depth of Field to your Photograph
Depth of Field or DoF relates to the parts of a photograph that are in full focus and show acceptable details. We, as photographers, have control over the amount of depth of field in a photograph and depending on our photographic or artistic goals we may vary 1 or all of the 4 factors that determine a shallow or extensive depth of field: Focal Length, Subject Distance or Magnification, Choice of Focus Point, Aperture or f-stop camera setting >>> Learn More.
Besides cameras and lenses, a solid tripod is one of the most important investments for a nature photographer. High quality nature photography is rarely achieved when hand holding your camera. A tripod is essential for low light photography during the morning, evening and twilight, for shooting wildlife, for macro photography and for experimenting with impressionistic or abstract photography. It not only steadies your shooting equipment for maximum image quality, it also will help you discover the world of photography. You are more likely to step back, think and compose a photograph. Prior to shutter release one should always ask yourself: do I have a straight horizon, do I have sufficient depth of field or shall I close the camera aperture setting to maximize depth of field, how will this setting impact my photograph, are there distracting elements in the foreground or background of my composition, do I even have a composition?
Step #4: Set up your Camera for Exposure Bracketing
Exposure is one of the most important camera and lens functions that a photographer needs to understand and master when pursuing photography. A correct exposed photograph conveys an image of clarity that retains details and colors in all areas of interest including light or dark areas. Correct exposure is always subjective and while I prefer a slightly underexposed image that boosts colors and saturation, others may not.
Correct exposure is a fine combination of ISO, shutter speed, aperture and lens settings. Understanding how these 4 elements come together is crucial for exceptional photography.
I almost always photograph in Aperture Priority Mode and at my lowest ISO setting which then provides me with the appropriate exposure time. Since I usually use a tripod I do not need to worry about slow exposure times. In more difficult lighting conditions I select exposure bracketing to ensure I achieve a correct exposure >>> Learn More.
Step #5: Shoot, shoot, shoot and Turn Home Field to Your Advantage
Explore your local gardens, parks, wildlife sanctuaries or nearby National Parks to work and enhance your photography skills. Once perfected locally one can pursue nature photography out of the comfort zone and away from home. Invest the saved money into a sturdy tripod and higher quality lenses. Keep shooting and practicing at your own pace and time, allow errors and learn from them; be inspired by others and develop your own photographic style. Learning by doing is key and learning not only from our mistakes but also from our successes is very beneficial as it is in every other job and industry >>> Learn More.
Step #6: Take Advantage of Exceptional Lighting Condition
Photography is often referred to as painting with light. When we talk about painting with light we talk about the process of creating a photograph. Photography derives from the Greek where photo means light and graph stands for painting. It is up to us photographers to evaluate the quality, quantity, direction and how we can manipulate light to our advantage for exceptional photography >>> Learn More.
More Reading and Photo Tips you may enjoy:
Love Jigsaw Puzzles and flowers?
Favorite Flower and Gardening Quotes
Painting with Light like Georgia O'Keeffe
15 Flower Photo Tips and Photography Inspiration


LOvely pictures and awesome photography...
ReplyDeletePhoto background removal
Thanks for visiting and commenting Sanind. I think following one or all of these photo tips will bring out the best in our photography ... one at a time it the motto ... glad you like the blog post and pictures! My best, Juergen
ReplyDeleteThank you for posting. I am always looking for ways to improve my photos. Your photos are awesome. Thank you,
ReplyDeleteThanks so much anonymous ... glad my photography inspires you and you like these photo tips here. Make sure to browse my blog for more tips ... it's loaded with tips and inspiration. Happy New Year, Juergen
ReplyDelete