

Photo tip #1 of 12: Equip your
DSLR camera with a macro lens ideally that focuses to 1:1 or life size.
Alternatively use close-up filters, extension tubes or reverse lens adapters to
explore the world of raindrops.
Photo tip #2 of 12: Use a solid
tripod to minimize camera shake and image blurriness. The tripod should get
close to ground level allowing shooting raindrops on grass blades or leaves. I
recently observed photographers stating in a couple of forums that a tripod is
a pain to drag around and to set up. This may be the case but if you are
serious about your photography there is no way around it. A tripod slows down your
process, makes you think about composition and it will eliminate one source of
blurry, low quality pictures: the über exited photographer himself.
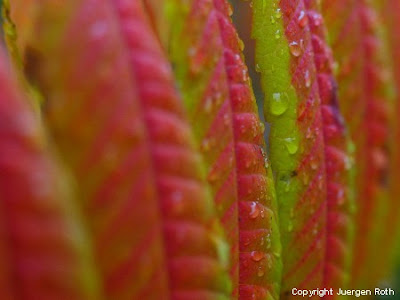
Photo tip #3 of 12: Brace the
weather after a fresh rain shower as raindrops add interesting detail to a
composition; it may open a new chapter with tons of inspiring photo
opportunities.
Photo tip #4 of 12: Look
carefully for raindrops that have interesting reflections of the surrounding
environment or other flowers in the droplet.
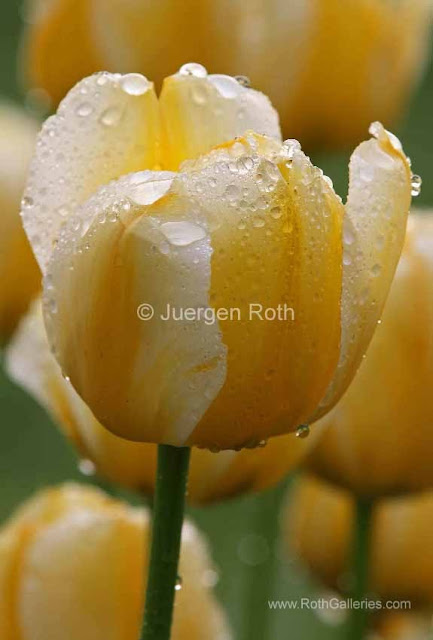
Photo tip #5 of 12: Operate with
extreme care and do not get too close as bumping the flower, leaf or a blade of
grass might cost you the chosen raindrop and subject in front of you. You might
also end up with a water drop or 2 on your lens which often annoys the heck out
of me.
Photo tip #6 of 12: Select a low
setting like ISO100 or lower for highest picture quality and to keep the image
noise level low.
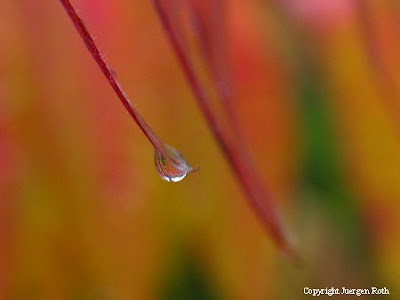
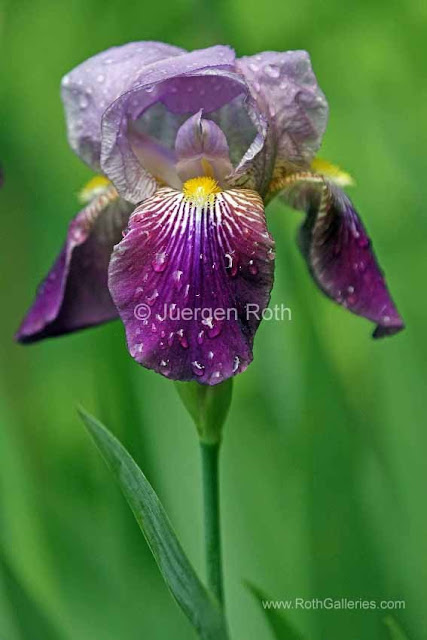
Photo tip #7 of 12: Choose your
aperture setting wisely for the right amount of Depth of Field. Isolate a
single droplet on a blade of grass or tip of a leaf by choosing a large
aperture setting (small f-stop number like f/5.6 or lower). The large aperture
setting creates a clean, out of focus and calmer background. Photograph
raindrops on a rain drenched flower blossom or leaf by selecting smaller
apertures (large f-stop number like f/8 or higher) for a wider range of depth
of field reaching throughout the entire photo subject.
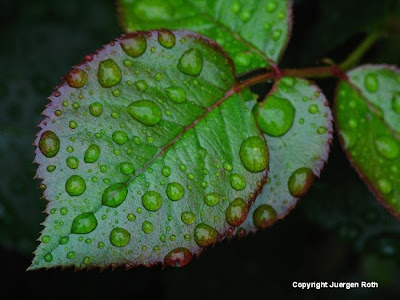
Photo tip #8 of 12: Switch to
manual mode and pinpoint the focus on the center of the drop. Switching to
manual focus is probably the best photo tip in this installment; try it
combined with the magnifying feature of your camera and see what it does for
you!
Photo tip #9 of 12: Get in real
close to capture how raindrops magnify the veins in leaves or blossoms.
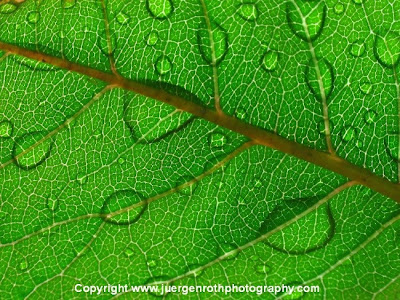
Photo tip #10 of 12: Use a
polarizing filter to create an image with more saturated colors and brilliant
reflections.
Photo tip #11 of 12: Use a
remote release, cable release or your camera live view to minimize camera shake
for better photo results when releasing the shutter.
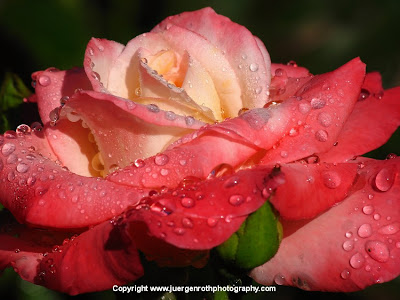
Photo tip #12 of 12: Create a good picture
composition by trying different angles and perspectives. The photographic goal
is to incorporate a background with beautiful colors and light that does not
distract the viewer from the main subject.
Great tips J. Could you elaborate more on the 1:1 versus 4:3 aspect ratio please?
ReplyDeleteThanks anonymous ~ magnification is quite a hand-full to cover. Check this link to Digital Photography Review article about Understanding Magnification ~ hope this helps. Regards, Juergen
ReplyDelete